In the world of digital advertising, Demand Side Platforms (DSPs) have emerged as indispensable tools for advertisers looking to reach their target audience effectively and efficiently. These platforms offer a wealth of opportunities, but to make the most of them, advertisers need to employ best practices for DSP buying. In this article, we’ll explore the top strategies and guidelines to ensure your DSP campaigns yield optimal results.
1. Define Clear Objectives
Before you start using a DSP, it’s crucial to define clear campaign objectives. Ask yourself:
What are you trying to achieve (e.g., brand awareness, lead generation, sales)?
Who is your target audience?
What key performance indicators (KPIs) will you use to measure success (e.g., click-through rate, conversion rate, return on ad spend)?
Having well-defined objectives will guide your campaign strategy and help you select the right DSP features and settings to achieve your goals.
2. Audience Segmentation
Segmentation is the backbone of successful DSP buying. Break your target audience into distinct segments based on demographics, behaviors, interests, and other relevant factors. This allows you to tailor your ad creative and messaging for maximum relevance. DSPs provide sophisticated targeting options, so take advantage of them to reach the right people at the right time.
3. Data Integration
Leverage first-party and third-party data to enhance your targeting capabilities. Integrating your customer data with DSPs can help you create custom audience segments and deliver highly personalized ads. Additionally, third-party data providers can offer valuable insights into consumer behavior and preferences, further refining your targeting strategy.
4. Ad Creative Optimization
Compelling ad creative can significantly impact campaign performance. Ensure that your ad creatives are visually appealing, relevant, and in line with your brand’s messaging. A/B testing can help identify which creatives resonate best with your audience, allowing you to refine your approach over time.
5. Budget Management
Set a clear budget and bidding strategy for your campaigns. DSPs offer various bidding options, such as cost per mille (CPM), cost per click (CPC), and cost per acquisition (CPA). Carefully analyze your KPIs to determine the most cost-effective bidding strategy for your objectives. Be prepared to adjust your budget based on campaign performance and market conditions.
6. Real-time Optimization
One of the key advantages of DSPs is their ability to provide real-time data and insights. Monitor your campaigns closely and make adjustments as needed. Pause underperforming ads, allocate more budget to top-performing segments, and fine-tune your targeting parameters to improve results. Continuous optimization is crucial for maximizing ROI.
7. Cross-Channel Integration
Consider integrating your DSP campaigns with other marketing channels, such as social media, search advertising, and email marketing. This cohesive approach ensures that your messaging remains consistent across platforms and maximizes the impact of your campaigns.
8. Brand Safety and Ad Fraud Prevention
Protect your brand by implementing strict brand safety measures within your DSP. Use tools that can detect and prevent fraudulent activity and ensure your ads are not displayed in inappropriate or harmful environments. Brand reputation is paramount in advertising.
9. Performance Analytics and Reporting
DSPs offer robust reporting capabilities. Regularly review performance metrics to gauge the success of your campaigns. Analyze conversion paths, attribution models, and audience insights to refine your targeting and messaging further.
10. Stay Informed and Evolve
The digital advertising landscape is dynamic, with new technologies and trends emerging regularly. Stay informed about industry developments and be prepared to adapt your DSP buying strategies accordingly. Continual learning and flexibility are key to long-term success.
Demand-side platforms have revolutionized digital advertising, offering advertisers unprecedented control and precision in reaching their target audience. By implementing these best practices for DSP buying, you can harness the full potential of these platforms to drive impressive results for your advertising campaigns. Remember that success in DSP buying often requires a combination of strategic planning, data-driven decision-making, and ongoing optimization.
Reach out to us today for a consultation regarding your DSP needs.
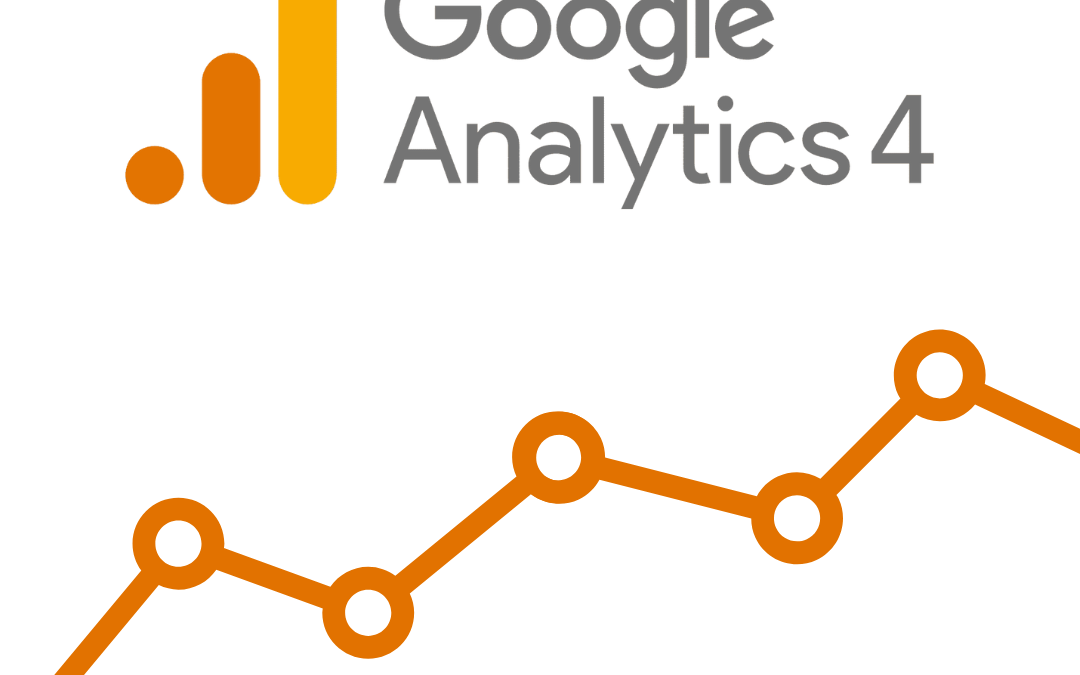
GA4 (Google Analytics 4) has been released for some time now and if you use Universal Analytics, you’ve seen the pop-up prompting you to switch over. At Population Science, we’ve switched all of our clients over to GA4 to start collecting data as soon as we could, but we noticed some things we’d like to share with you here.
Benefits of switching to GA4
GA4 offers a range of new features and improvements to include some of what I’ve listed here.
Enhanced tracking capabilities – because GA4 tracks by user rather than sessions, you’ll be able to follow your user’s journey throughout their devices.
Streamlined Interface – while it may look like some of your favorite options are missing, they’re actually just tucked away in the Reports tab
Improved Integrations – though you may not be able to see it, on the backend, but GA4 synchronizes better with Google Ads and Google Tag Manager.
Advanced Machine Learning – such as automated insights and predictive metrics
While I understand a lot of this doesn’t show up as in-your-face user experience, these improvements go a long way towards building better overall data reporting capabilities (once you get the hang of it).
Downsides of switching to GA4
Like with any platform, upgrading comes with some downsides:
Limited Historical Data – The sooner you switch, the sooner your Analytics starts collecting data. GA4 data collection is not retroactive beyond when you initiate it. You could be missing out on vital business insights by holding off.
Different Data Structure – GA4 uses a different data model than Universal Analytics, which can make it challenging to migrate data and set up tracking correctly. You may need to invest time and resources into updating your tracking and reporting infrastructure.
Limited Third-Party Integrations – Because it’s still so new, some third party integrations are still unavailable.
Learning Curve – some marketers may need to invest time and resources into learning the new platform and its capabilities.
Limited Customization Options – You still can’t create custom dashboards in GA4, but they’re working on it.
Yes, there is a lot of change with GA4 from Universal Analytics. But we’re confident that overall, GA4 offers a more flexible and robust analytics platform that can help businesses better understand and optimize their digital marketing efforts.
Picking out great keywords can be challenging, but it’s an important part of an overall successful Google Search campaign strategy. In this post, we discuss the different kinds of keywords you can use to target your audience.
Think like your customer
When it’s time to come up with the keywords for your Google ads, you’re going to want to think like your customer at the time their searching for your product. Also, take under consideration that you might have a sale going on you’d like to promote to them that requires it’s own campaign with it’s own keywords such as “couch discount” or “couch sale”.
Explore your business objectives. Do you want more people to visit your website or to reach customers that are ready to make a purchase? You’ll need to formulate your keywords around the journey you want your customers to take.
The different match types
If you’re trying to reach a wider audience, you’re going to need a broad match or broad match modifier. These allow for variations and misspellings of the search terms that you enter in any order if they appear in the user’s search terms. For example if you enter “bicycle” and the user searches for “blue bike”, you would still show up in the search engine because bicycle is a variation of bike. These are the most common type of search types.
Now let’s look at more narrow searches–the phrase match and exact match. Phrase match can be useful when you are looking to target a specific brand of something such as “Comfy Couch” brand and you needed those to appear in order with no words in between, while still allowing words before an after. Exact match is just as a it sounds. The user must enter the exact search terms as they appear and really should be used sparingly as a keyword strategy.
The last match type is a negative match. This type is used when your broad match allows something to appear that you don’t want. Let’s say you don’t have any “sectional couches” in your inventory, you can add a negative keyword “sectional” so that you don’t appear in those searches.
At the end of the day, delivering an exhaustive list of keywords is nearly impossible, but understanding Google’s match types makes that effort a little easier. When you’re generating your own list, you can always reach out to us for questions–we’d be happy to help!
There is no one-size-fits-all answer to this question, as the most common mistakes made by digital marketers can vary depending on their level of experience, the type of marketing they are doing, and the specific goals they are trying to achieve. However, some common marketing mistakes with Chat GPT include:
Not having a clear strategy: Without a clear and well-defined marketing strategy, it can be difficult to know what the objectives are, what metrics to track, and how to measure success.
Not targeting the right audience: Understanding your target audience and what motivates them is critical to the success of any marketing campaign. If you are not targeting the right audience, your efforts and resources will likely be wasted.
Ignoring mobile optimization: With the majority of internet traffic now coming from mobile devices, it’s essential to make sure your website and marketing materials are optimized for mobile.
Overlooking the importance of data and analytics: In the digital age, data and analytics play a crucial role in making informed marketing decisions. Without tracking the right metrics, it can be difficult to understand what’s working and what’s not.
Not diversifying your marketing channels: Relying on a single marketing channel can be risky, as changes in algorithms or consumer behavior can have a significant impact on your results. It’s important to diversify your marketing efforts across multiple channels.
Not testing and optimizing: Digital marketing is a constantly evolving field, and what works today may not work tomorrow. It’s important to continually test and optimize your campaigns to ensure they are achieving the desired results.
Check out this quick list of ChatGPT Marketing Ideas you can run with today:
Customer Service: ChatGPT can be integrated into websites, messaging apps, or customer service platforms to provide instant support to customers and answer their queries in real-time.
Content Generation: ChatGPT can help marketers generate high-quality, engaging, and relevant content for social media, websites, and other marketing channels.
Chatbots: ChatGPT can be used to build conversational chatbots for websites or messaging apps to provide personalized, interactive experiences for customers.
Lead Generation: ChatGPT can be used to design chatbots that can collect customer information, qualify leads, and pass them onto sales teams for follow-up.
Personalized Recommendations: ChatGPT can analyze customer behavior and provide personalized product or service recommendations, helping to increase customer satisfaction and sales.
Market Research: ChatGPT can assist with market research by analyzing customer feedback, sentiment, and trends, helping to inform marketing strategies and product development.
Overall, ChatGPT can help marketers automate routine tasks, provide real-time support and engagement, generate valuable insights, and drive business growth.


 5. Budget Management